


Centum Electronics Ltd. has been selected by Thales, a global technology leader in the ...


What We Do PC28历史记录查询
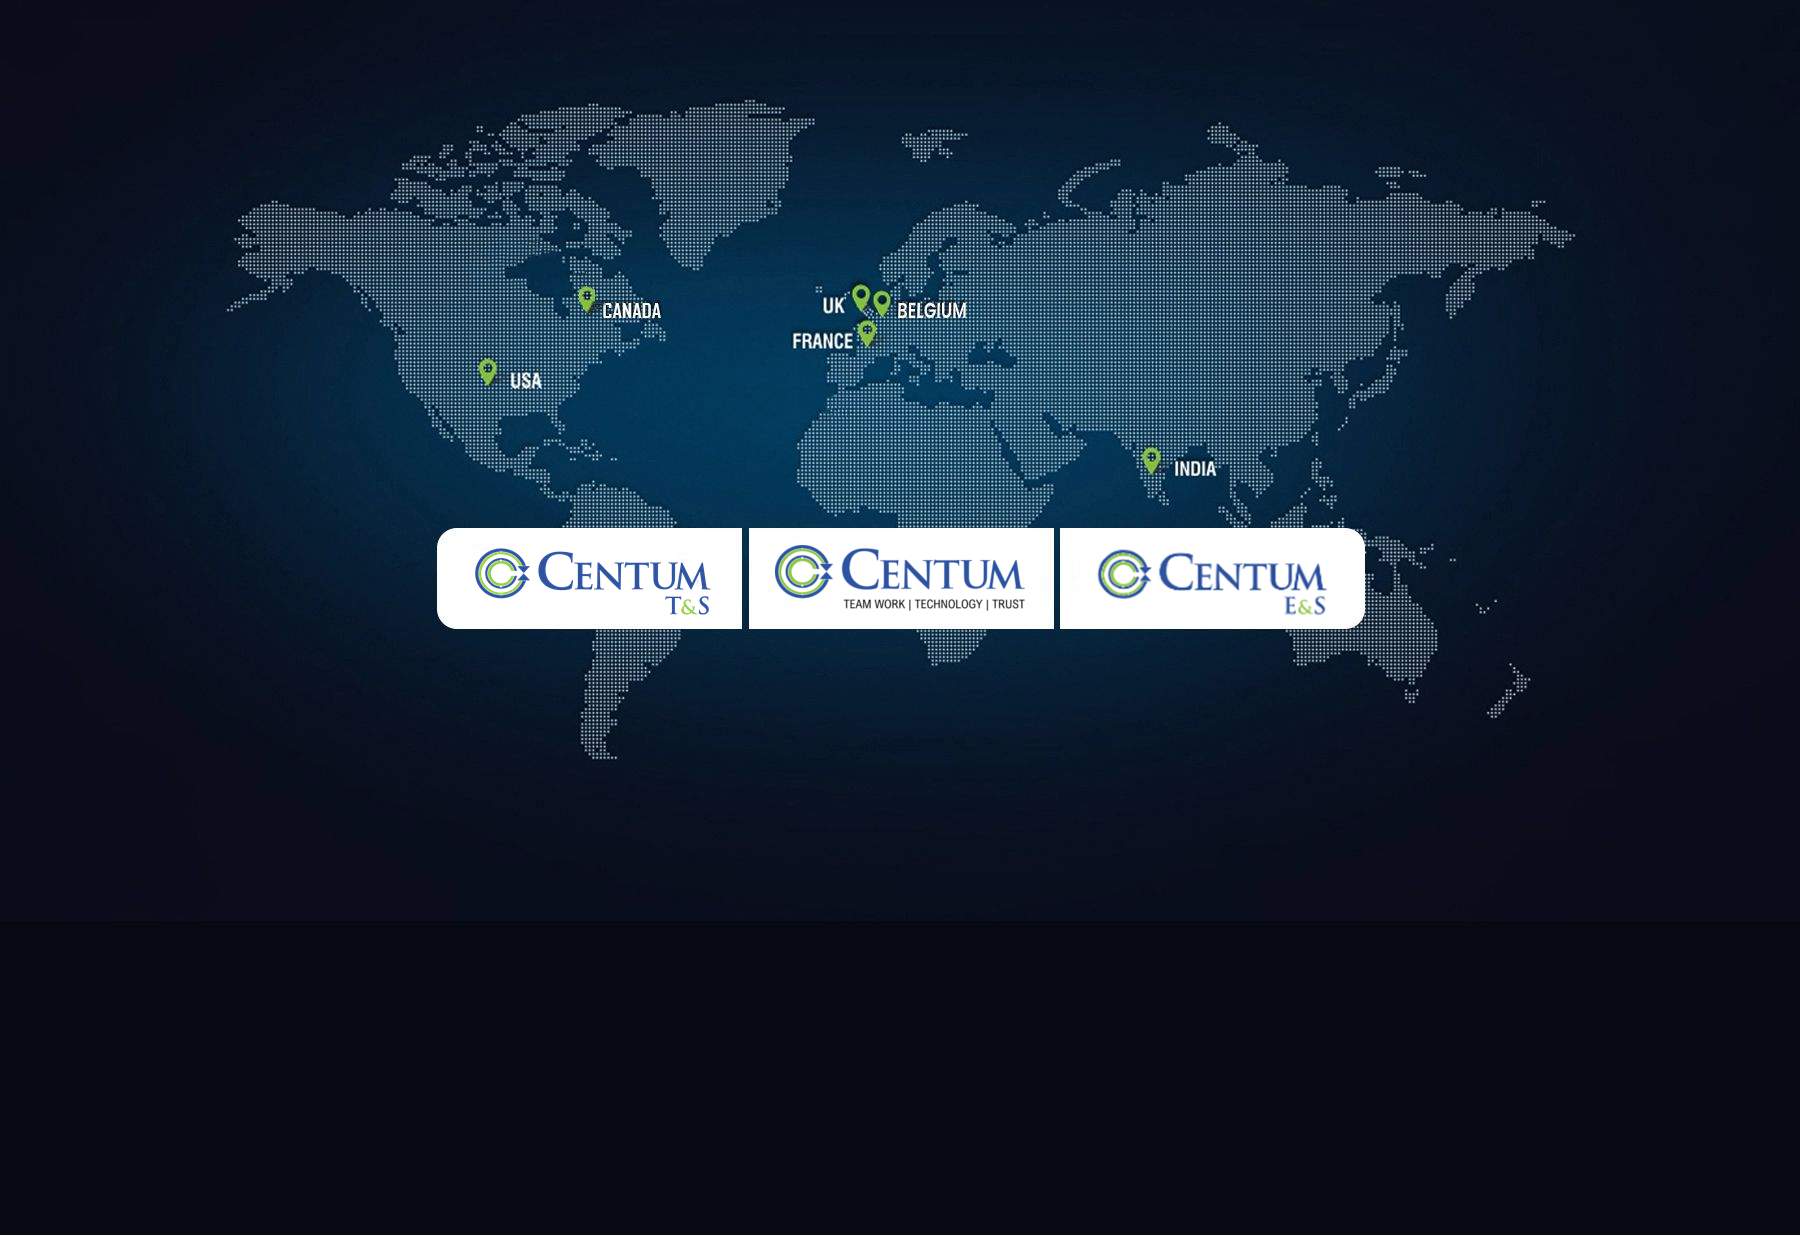
CENTUM GROUP,彩票联盟官方网站 A GLOBAL COMPANY CLOSE TO ITS CUSTOMERS
这是一个专门免下载的加拿大PC2.8在线预测网页版服务平台。Our goal is to create value by contributing to the success of our customers by being their innovation partner, offering:
- Flexible Solutions tailored to the customer and project-specific requirements.
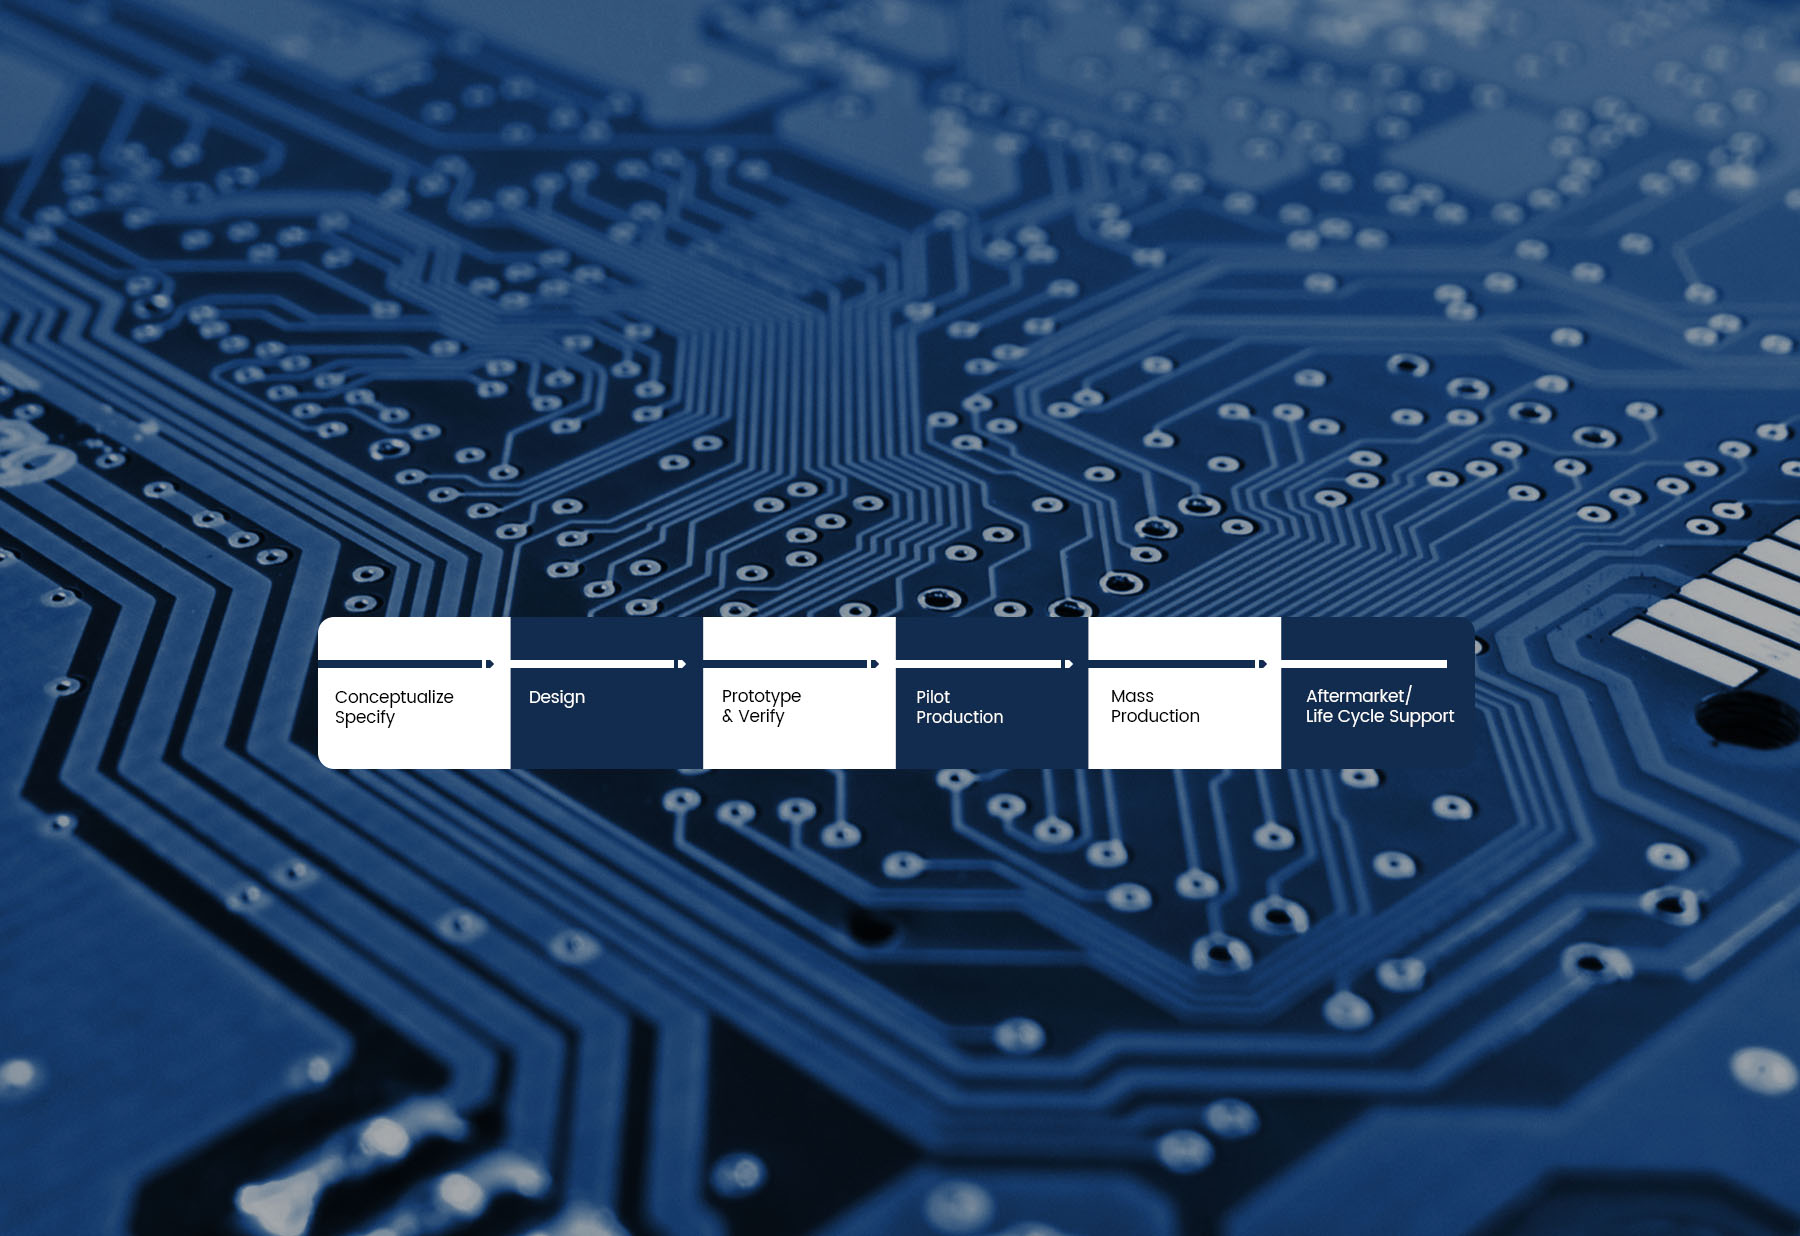
- Design, manufacturing, and turn-key build specification services.
- Product lifecycle management services.
- Deep domain knowledge in high technology segments.
- 2300 skilled professionals moved by quality and excellence.
With Teamwork, Technology & Trust, we are convinced we can help you achieve your goals by turning your ideas into smart, performing and reliable solutions.

在线走势图分析平台 News and Events

News And Events
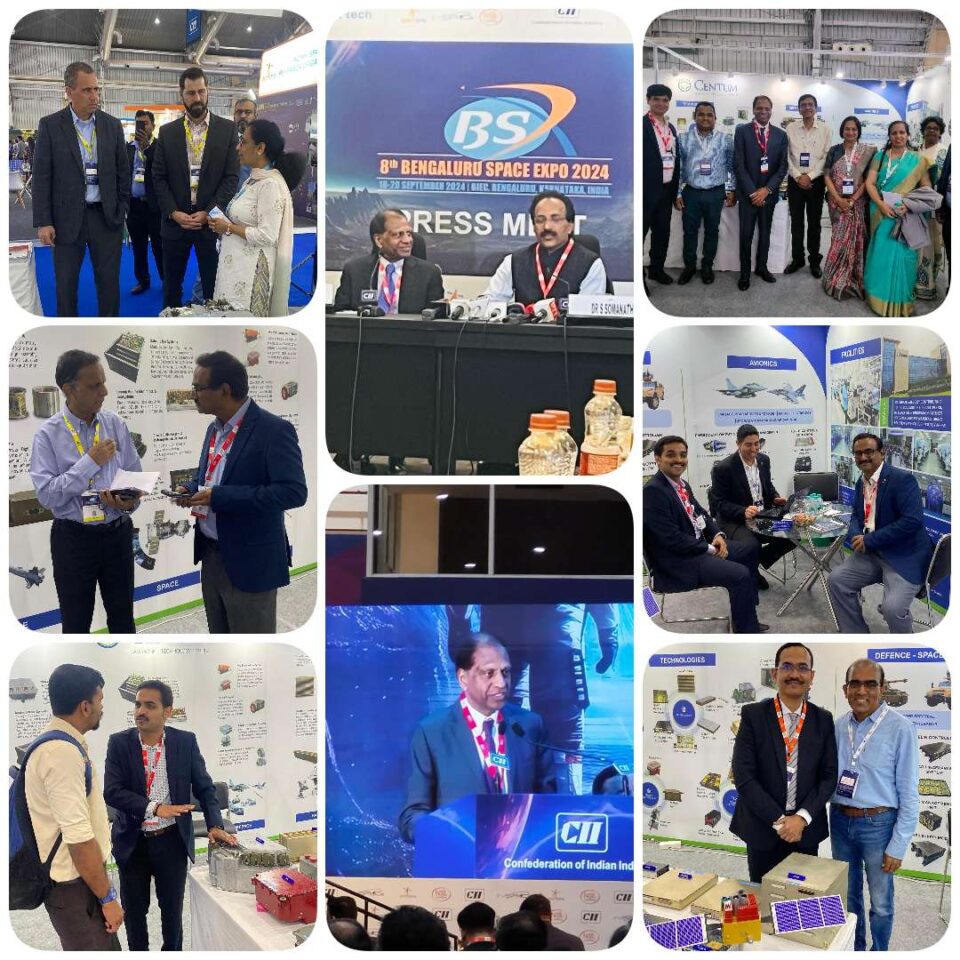
彩票联盟官方数据大厅 Space Expo 2024
整合开奖、统计与分析等功能服务。We are thrilled to announce our successful participation in Space Expo 2024! This event ...

Lifestyle
加拿大PC2.8号码统计专区 Centum T&S has been awarded !
Centum Wins Gold Award for Energy Conservation in India! 提供单双、大小等数据分析参考。We are delighted to share ...
Lifestyle
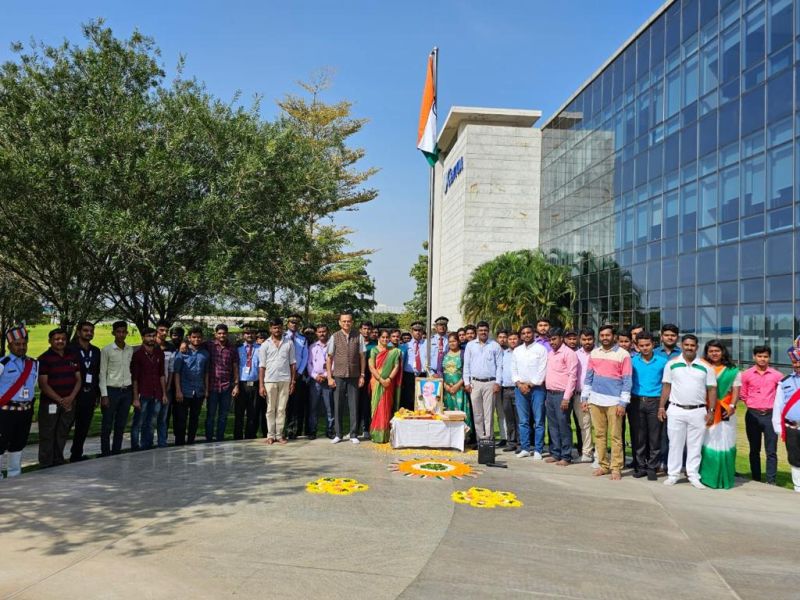
在线预测网页版入口 Independence Day 2023
“Wishing you a joyous Independence Day! 无需下载即可快速在线访问。May the passion and devotion we exhibit for ...
Uncategorized
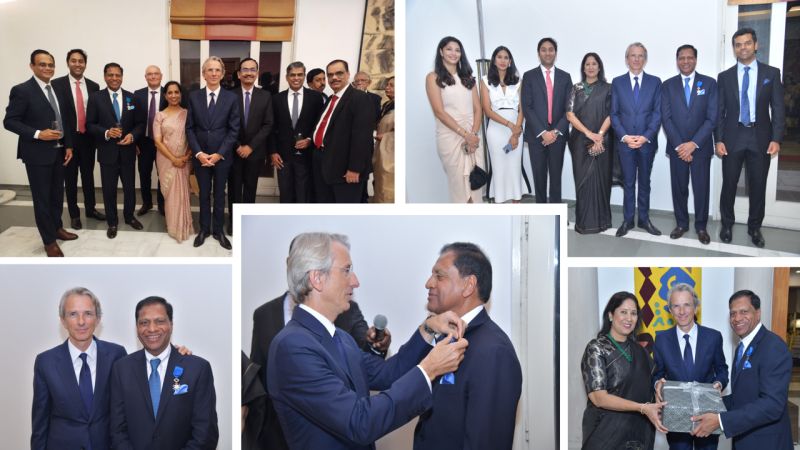
Apparao V Mallavarapu,PC28综合服务平台 has been honored with the prestigious Chevalier de l’Ordre national du Mérite
集合查询、走势与预测等多项功能。We are proud and delighted to announce that our Founder & CMD, Mr. Apparao ...